Week 12: Moulding and Casting
Assignment:
- Design a 3D mould, machine it, and cast parts from it.
My goal for this assignment is to design a mould to cast a figure with liquid plastic, this method is useful when you are planning to cast several 3D figures with the same mould, is cheaper and easier to print in a 3D printer.
Machine:
Software:
Materials:
For this week I had to make a styrofoam mould to cast a 3D figure, I decide to draw a cat in Illustrator CS6 and use it to make my mould.
Once I finished the design, I import it to Rhinoceros where I made a 3D design of it to be able to mill the styrofoam sheet in the router CNC.
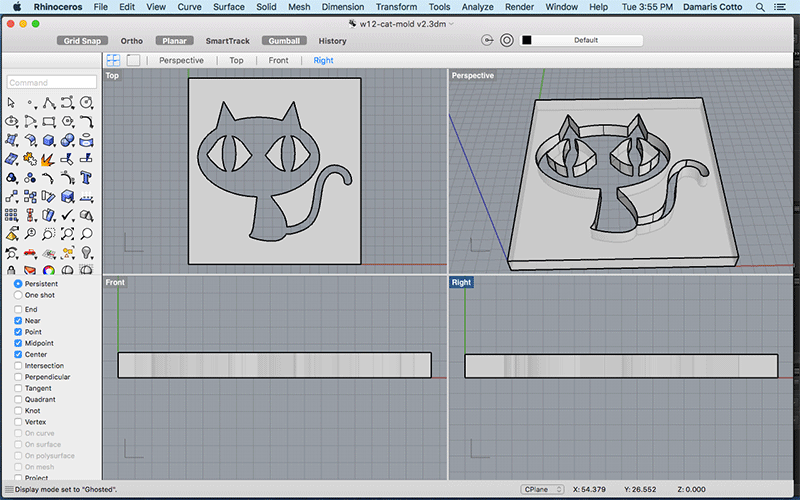
To do that, first I had to open the file in Rhino CAM to save all the settings, the mill to use and all the parameters to get the GCode to do the mould.

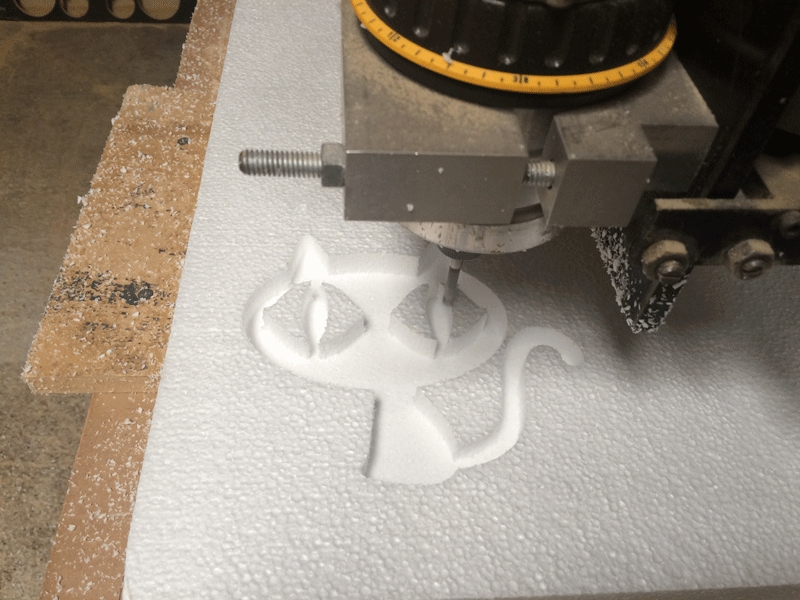
Once getting the GCode, I start to mill the styrofoam sheet to get the mould finised and ready to be cast.
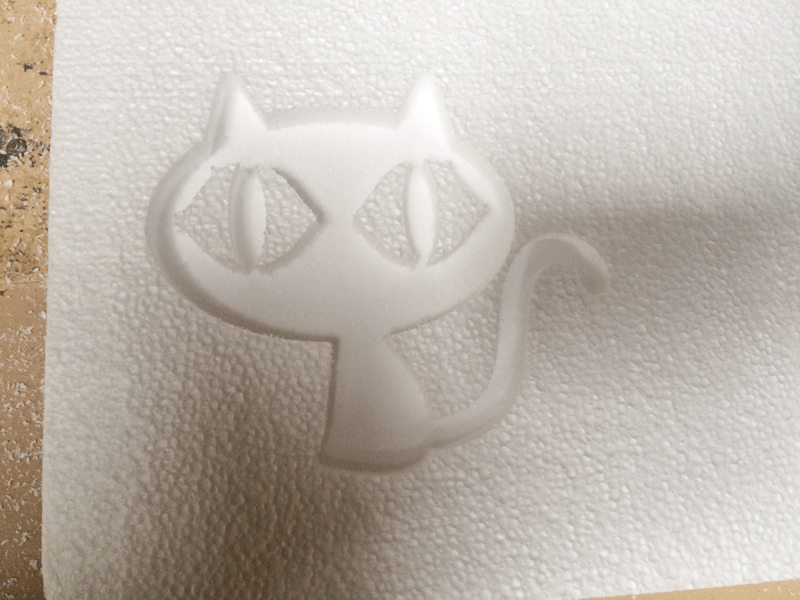
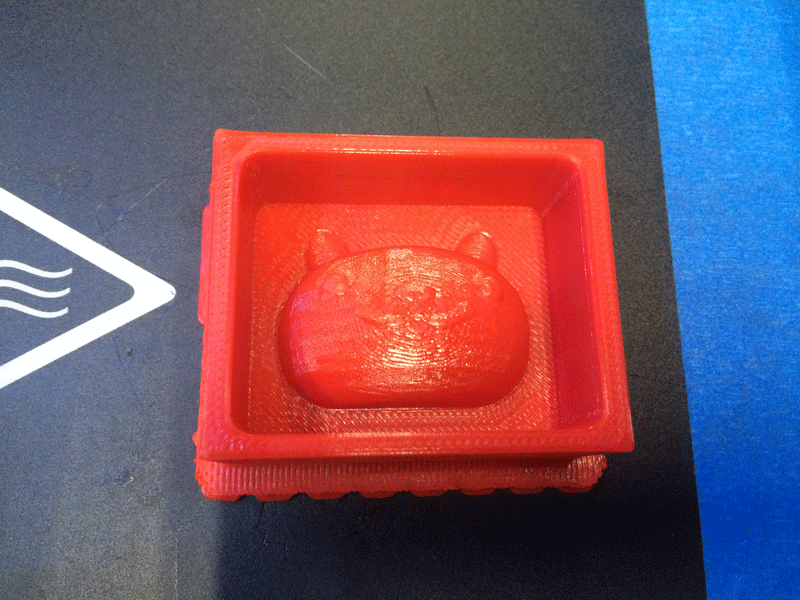
I won’t use the mould I mill in styrofoam because the assignment consist in make a positive mould to fabricate the negative one and stir something to cast, as I have no chance to mill in machinable wax, I printed the positive mould in a 3D printer.
To do that I downloaded a cat model and use only the front parth of the head to make my positive mould.
This is the positive mould printed.
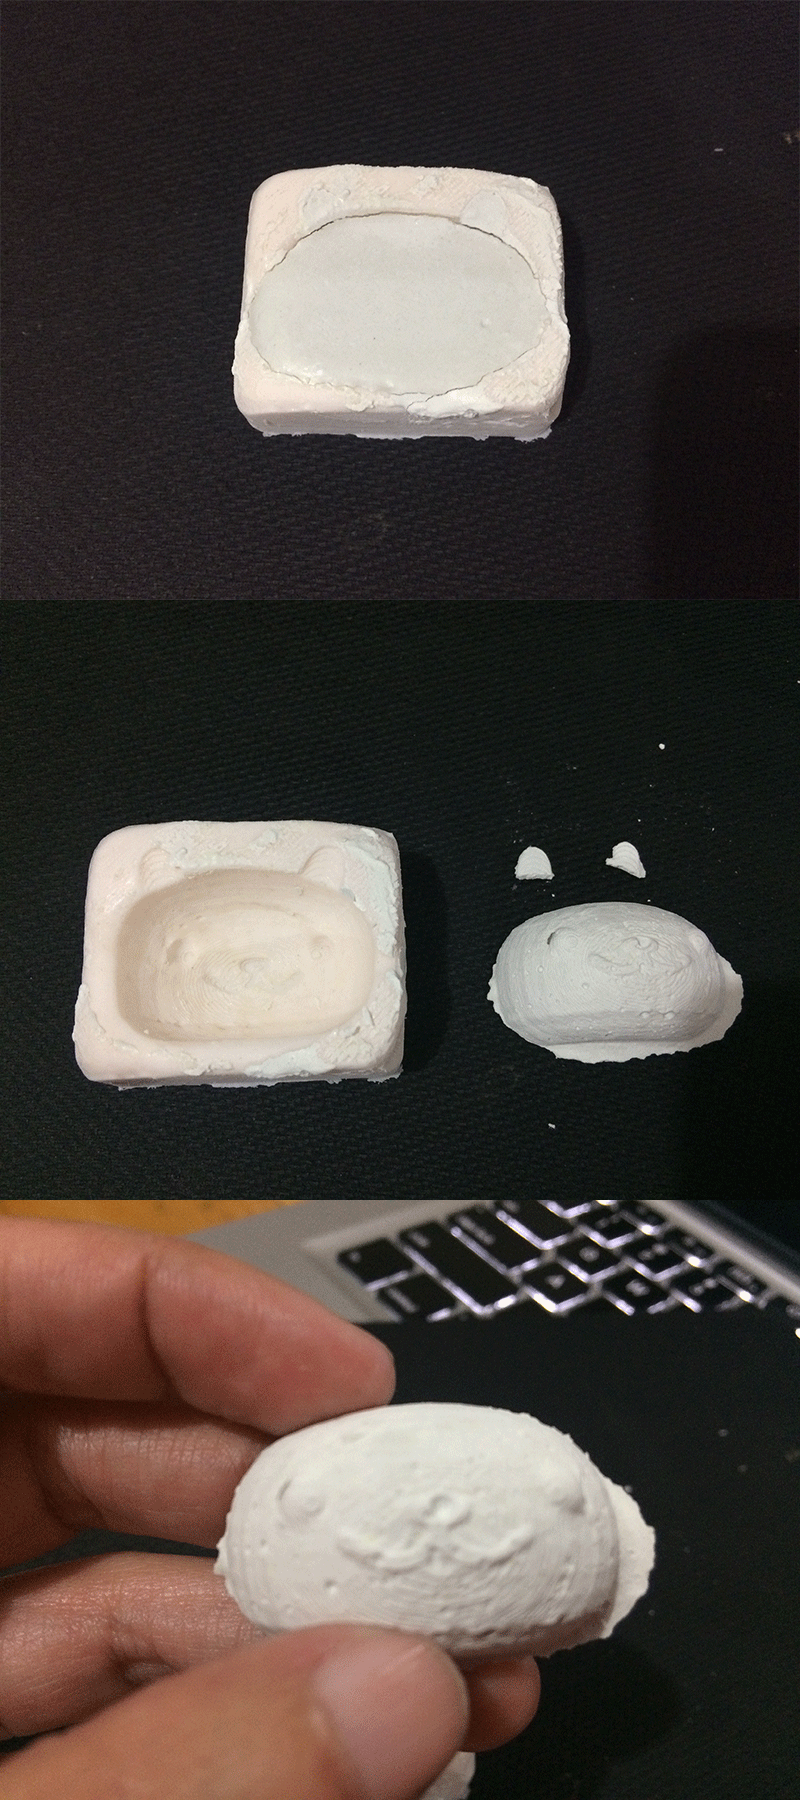
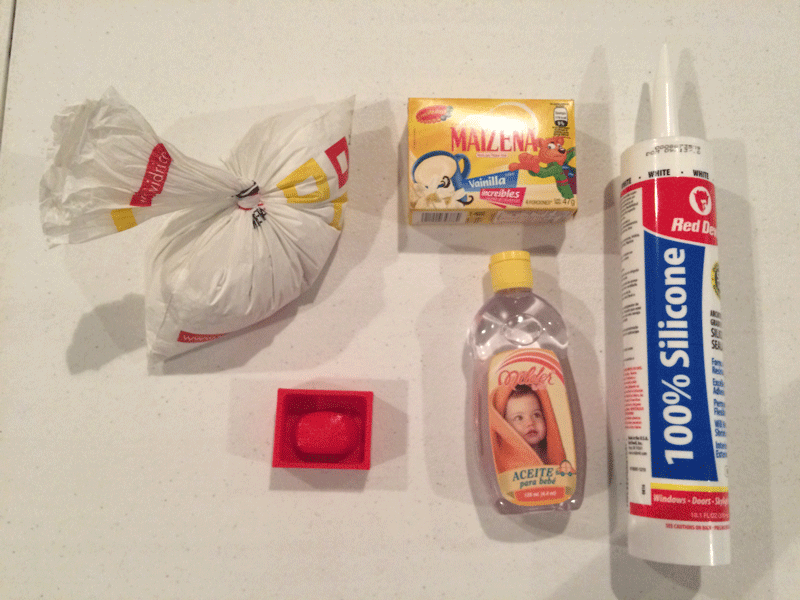
As suggested I made the negative mould with a mixture of water proof silicone caulk, corn stretch and baby oil, following a Make Your Mark video:
- Pour silicone caulk and about doble quantity of corn stretch and mix gently.
- Add few drops of baby oil and mix until obtaining a homogeneous paste.
- Place the mix on the positive mould carefully being sure everything is fill.
- Let stay until dry and separate the negative and positive moulds carefully.
The mould isn't sharp because I didn't press hard enough to fill all the silicone mix into the positive mould.
Having the negative mould ready, I proceed to mix the white cement and water to stir on mould and be able to cast the figure.
This is the final result... I missed the cat ears because the mould isn't as sharp as needed and the cement layer in this area is too thin.